

Create a project
1
Open Projects
Click Projects under My Life in the sidebar, or press G then P.
2
Click New project
Click New project at the top right. The new project opens straight away.
3
Name it
Type a name in place of New project. To note what the project is for, point at the space above the name and click Add description.
The Overview tab
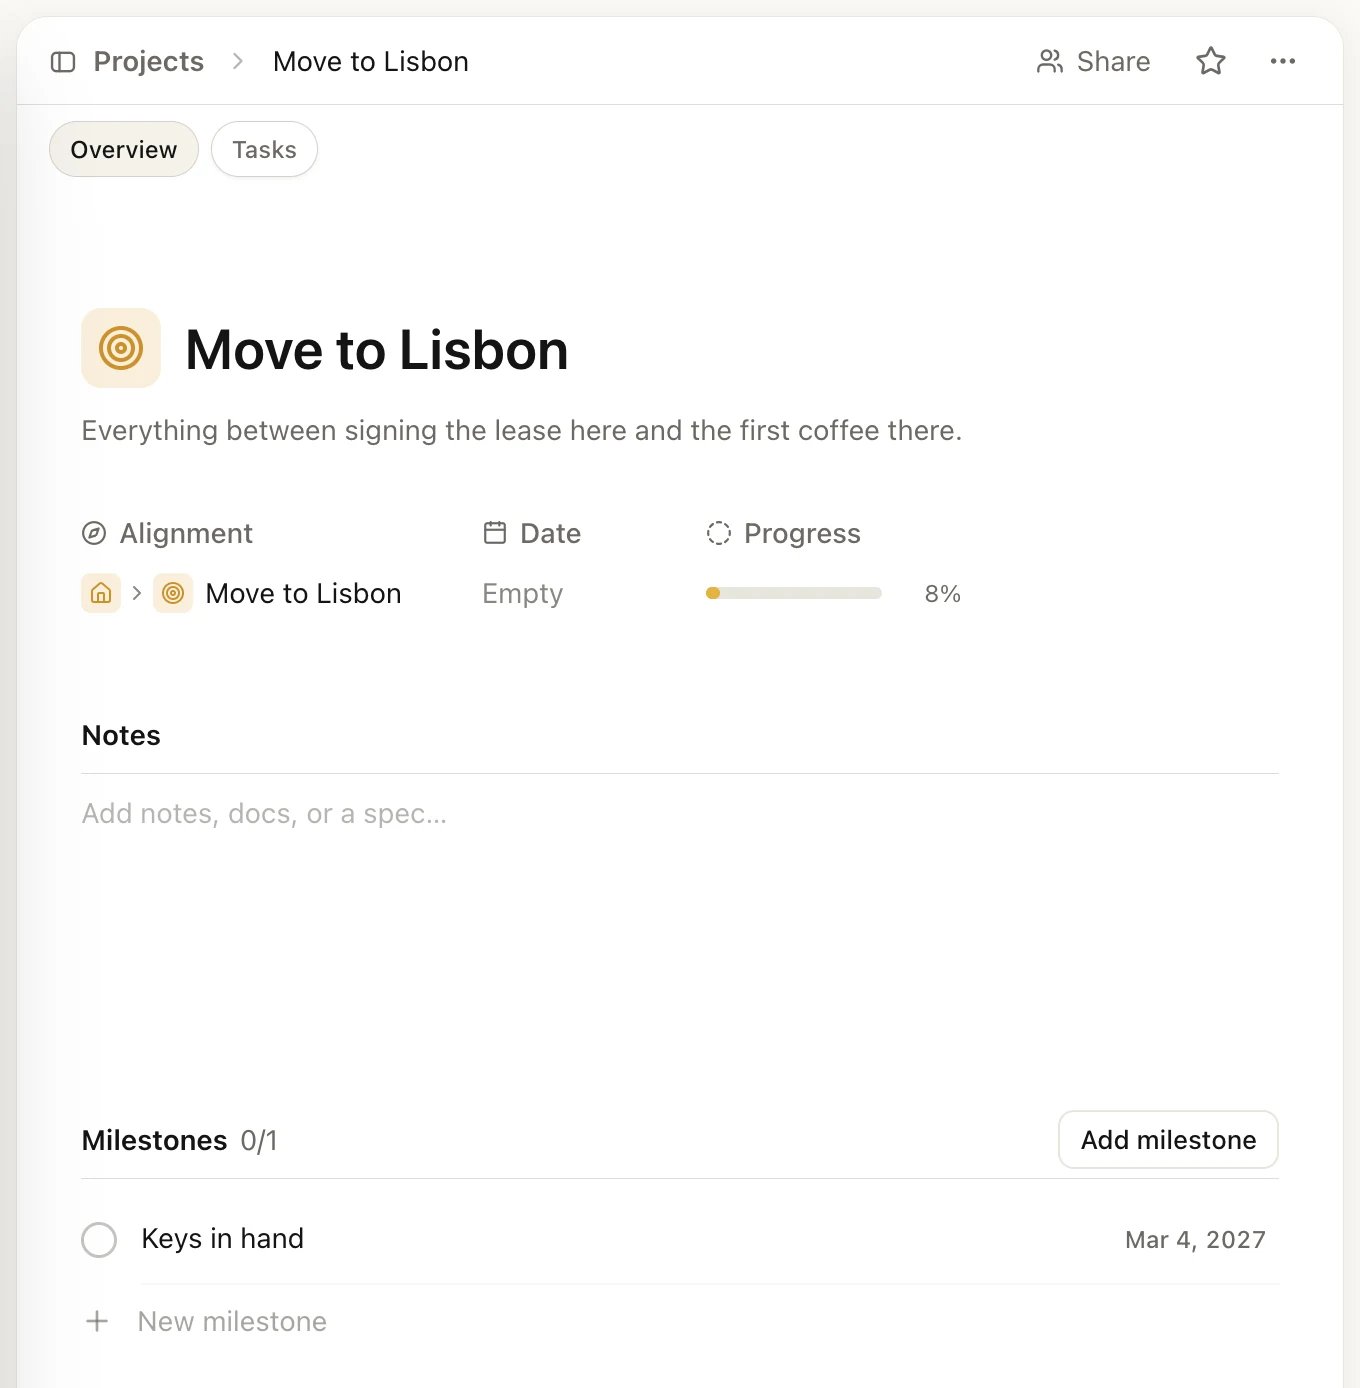
A project's Overview tab
Link a project to a goal or life area
- On the Overview tab, click under Alignment.
- Search or scroll, then pick a goal (or subgoal) or a life area.
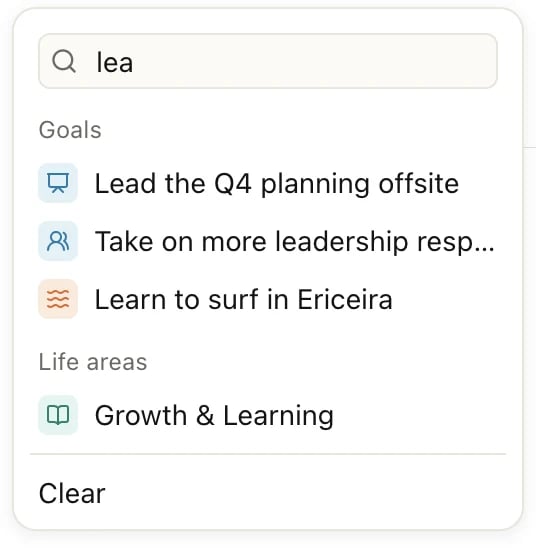
Type to narrow the list: goals first, then life areas
Add milestones
Milestones mark the moments that matter, like “Contract signed” or “Keys in hand”.- In Milestones, click Add milestone, type a name and press Enter.
- Point at the milestone and click Set date at its right to give it a date.
- When you reach it, click the circle in front of its name.
The Tasks tab
The Tasks tab shows the project’s tasks, grouped into sections.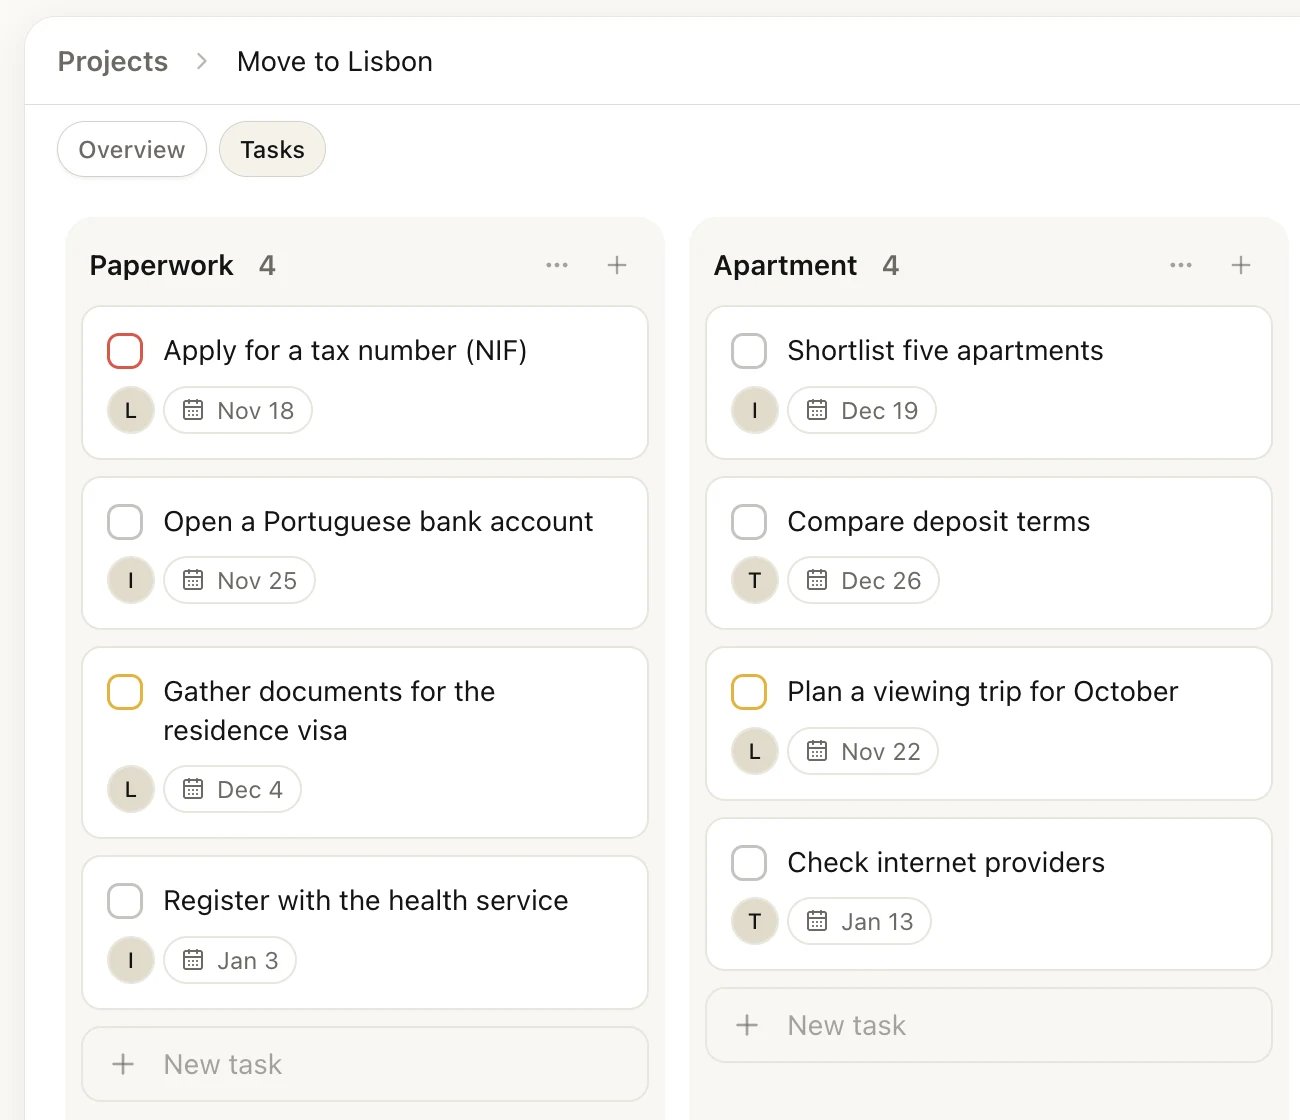
The Tasks tab as a board, one column per section
Use sections
Sections split a project into stages or topics, such as “Paperwork”, “Apartment” and “Moving day”.- Click Add section (on a board, it’s to the right of the last column), type a name and press Enter.
- Drag tasks between sections to move them, and drag sections to reorder them.
- Click ⋯ next to a section’s name to Rename section, Hide group or Delete section.
Drag a task to another section's column
Switch between list and board
Click the view settings button (the sliders icon) at the right of the tab row.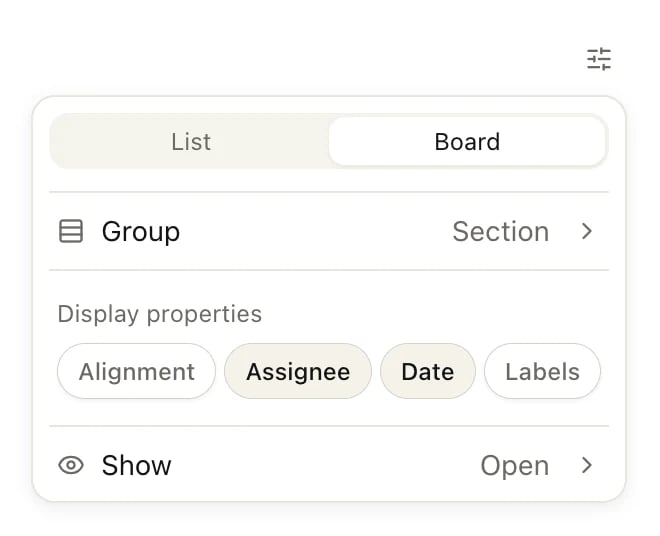
View settings on the Tasks tab
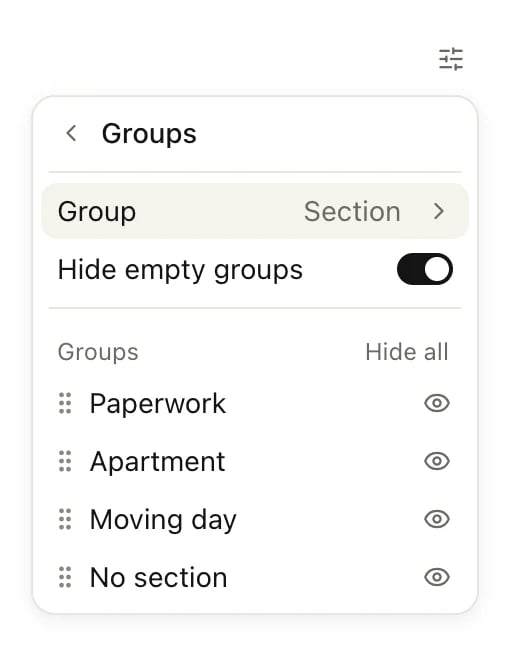
The Groups page of the view settings
Drag a task to change it
Dragging a task into another group changes the task to match:
When the Completed group shows (grouped by Section, with Show set to All), drag a task into it to complete it, or drag a completed task back into a section to reopen it there. To rename Completed, click ⋯ next to its name and choose Rename group.
Move a task into a project
- Open the task, click under Alignment, and pick the project under Projects.
- Or, while you type a new task, type + and the start of the project’s name, then pick it from the list. See Type a task in one line.
Complete, archive or delete a project
Open the project and click ⋯ at the top right. In the Projects list, point at a project and click the handle that appears at its left.- Mark completed marks the project as done. Its tasks stay as they are. It stays in the Projects list, dimmed and marked with a check. Choose Mark incomplete to reopen it.
- Archive puts the project away without deleting anything. An archived project is read-only. To see your archived projects, open the view settings on the Projects page and turn on Show archived, then choose Restore to make one active again.
- Delete removes the project after you confirm in the Delete project window. Its tasks move to Trash and its sections are deleted.
Good to know
Do a project's tasks count toward its goal's progress?
Do a project's tasks count toward its goal's progress?
No. A goal measured by Completed tasks counts only the tasks aligned to the goal itself. The project’s tasks fill the project’s own Progress bar. To see the project from the goal, open the goal’s page and look under Projects.
Why don't I see my project on its life area's page?
Why don't I see my project on its life area's page?
A life area’s page lists goals, tasks, habits and notes, but not projects. Open Projects in the sidebar to find it; the Alignment column shows where each project belongs.
Why can't I edit an archived project?
Why can't I edit an archived project?
Archived projects are read-only, so nothing changes by accident. Restore the project first, then edit it.
Can other people work in my project?
Can other people work in my project?
Yes, with Pro you can share a project and assign its tasks. See Share with others.
Limits
The Free plan includes 3 projects. Completed projects don’t count toward the limit, but archived ones do. Pro has no limit. See Free, Pro and Lifetime.Related
Goals
Link a project to the outcome it serves.
Tasks
Dates, priorities and everything else on a task.
Share with others
Invite people into a project and assign tasks.
Undo and Trash
Restore tasks from a deleted project.