

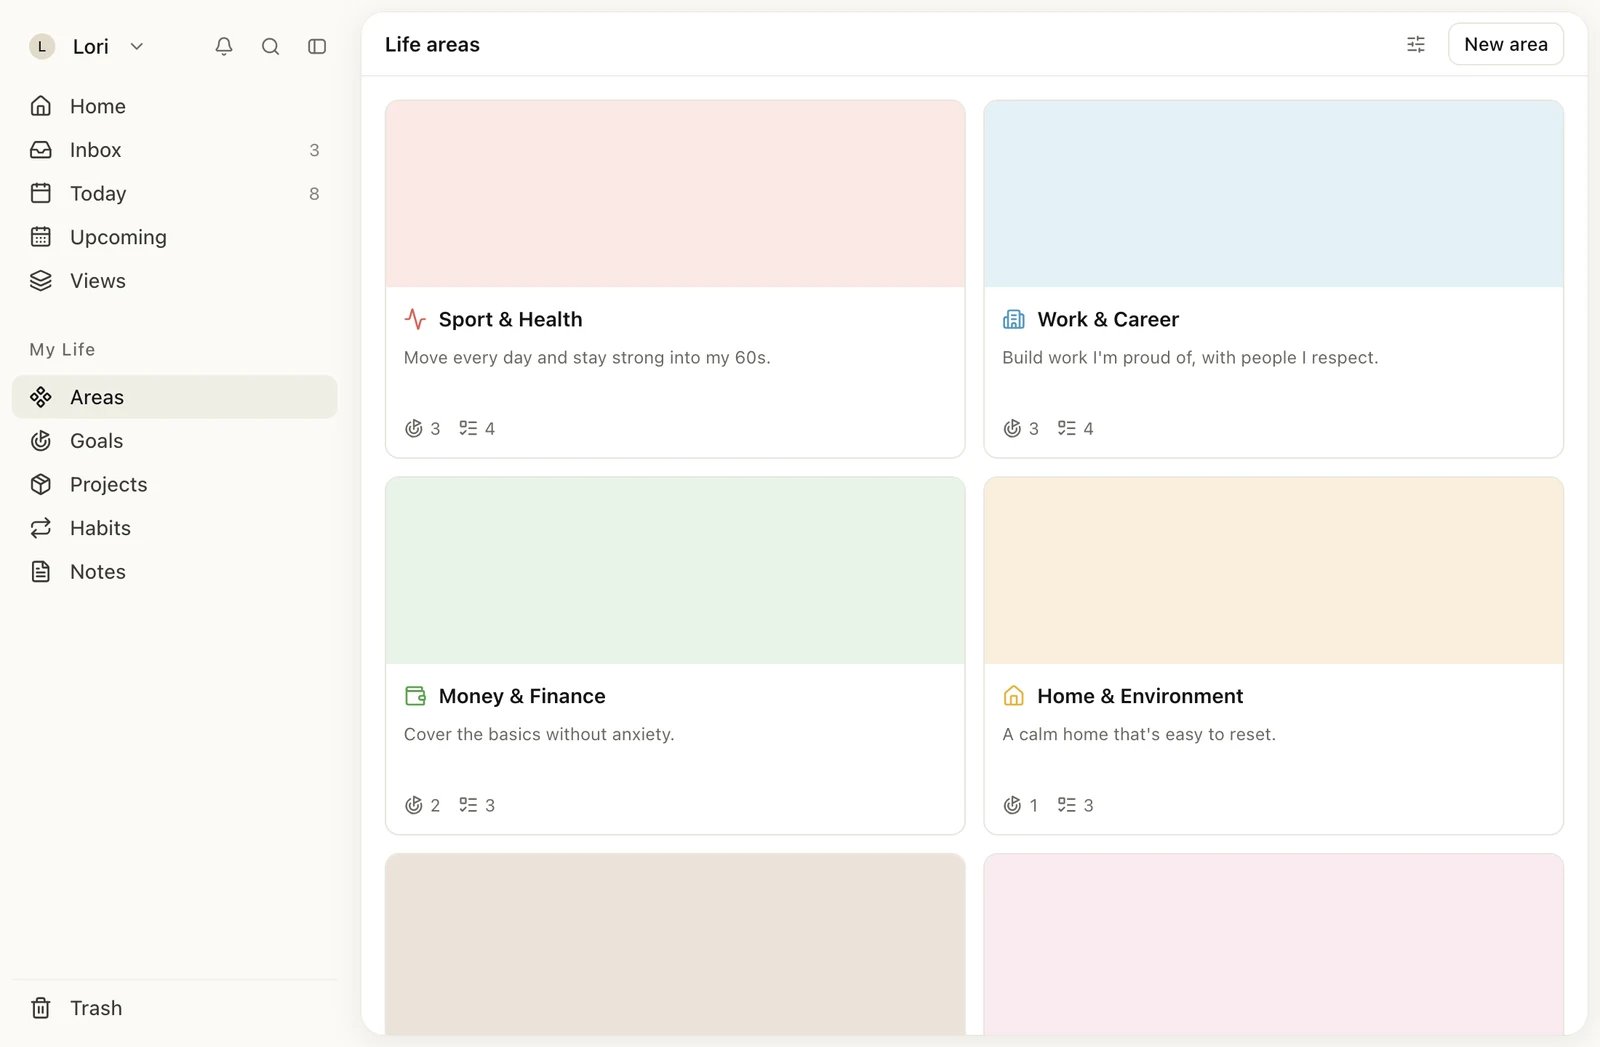
Life areas in the gallery view
Your starting areas
Every account starts with nine life areas: Sport & Health, Work & Career, Money & Finance, Home & Environment, Family & Friends, Love & Romance, Growth & Learning, Fun & Relaxation, and Spirituality & Purpose. You can rename, restyle, archive or delete any of them. To open them, click Areas under My Life in the sidebar, or press G then A.Create a life area
1
Click New area
On the Life areas page, click New area at the top right. The new area opens straight away.
2
Name it
Type a name in place of New area. Each area needs a name of its own: two areas can’t share one.
3
Pick an icon and color
Click the icon next to the name. Type in Filter… to search the icons, and click the color dot next to the search box to change the color.
Rename the new area before you click New area again. While one area is still called “New area”, a second one can’t be created and Heym shows “Something went wrong. Please try again.”
Write the area’s vision
The vision is a short description of what the area means to you. It shows under the name on the area’s page and on its card.- Open the area and move the pointer over the space just above its name. Add description (while the area has no vision), Add cover (while it has no cover) and Show vision board appear.
- Click Add description and write. The prompt asks: “What does success look like in this area?”
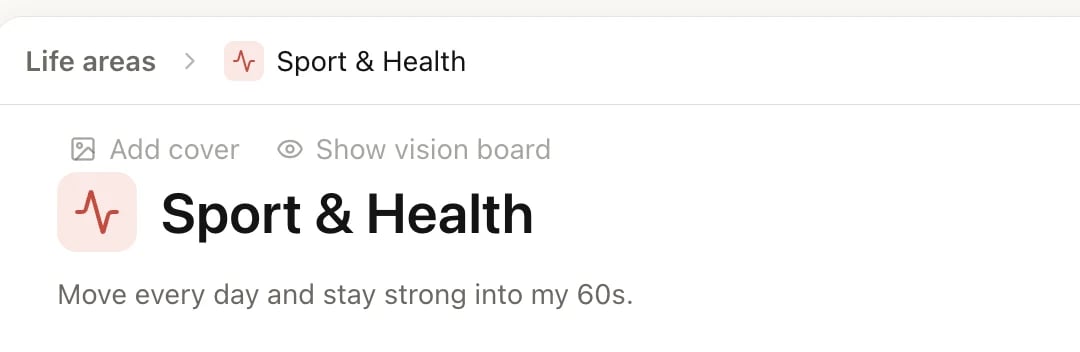
The buttons above an area's name appear when you point at them
Add a cover
- Point at the space above the name and click Add cover. A cover in the area’s color is added right away.
- To pick a different one, point at the cover and click Change.
- On the Gallery tab, choose one of the Colors or a Pixel art picture. On the Upload tab, click Upload image, or paste an image (⌘V, or Ctrl+V on Windows).
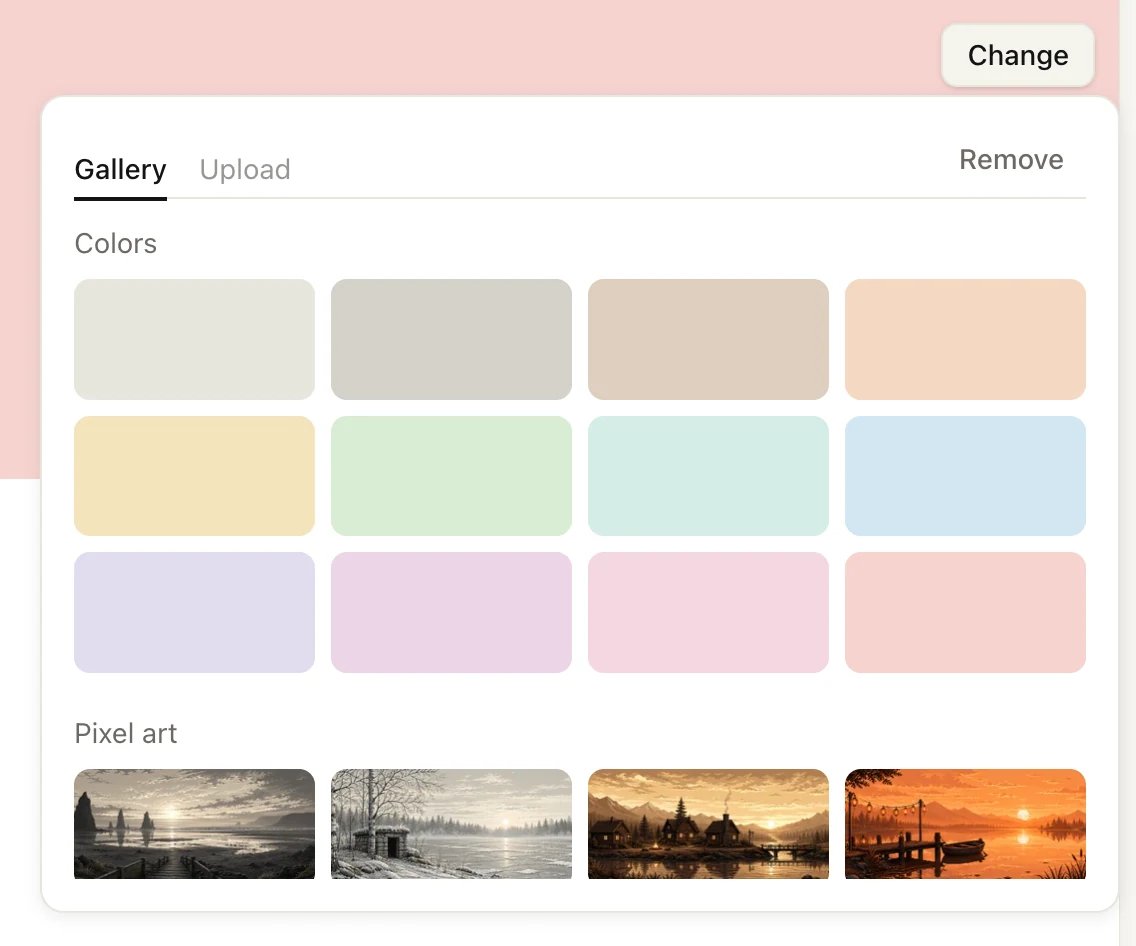
Change opens the cover picker
Build a vision board
The vision board is a set of pictures for the area, shown under its name.- Point at the space above the name and click Show vision board.
- Click the tile with the + at the end of the board, then click Upload image (or paste an image). Add more the same way.
- Click a picture to see it larger. From there you can Set as cover, Download or Remove it.
What belongs to a life area
An area’s page has four sections: Goals, Tasks, Habits and Notes. Click Add goal, Add task, Add habit or Add note to create something inside the area. To put something you already have into an area:- A goal: open it and set its Life area. See Goals.
- A task, habit or note: open it and set its Alignment to the area.
- A project: open it and set its Alignment to the area. Projects don’t get a section on the area’s page; you find them under Projects. See Projects.
Arrange your areas
Click the view settings button (the sliders icon) at the top of the Life areas page.
With Manual, drag areas into the order you want.
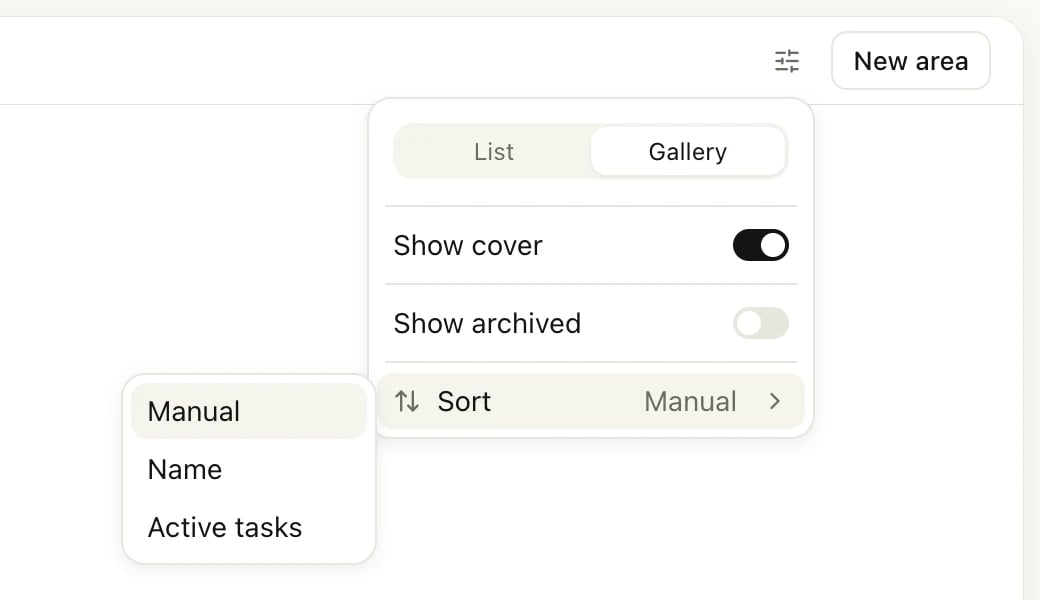
View settings on the Life areas page
Archive a life area
Archiving takes an area out of your lists and pickers without deleting anything. An archived area is read-only until you restore it.- Open the area, click ⋯ at the top right, and choose Archive. In the list or gallery, you can also right-click the area.
- If the area has goals, Heym asks what to do with them. Choose Archive area to archive only the area, or Archive area and 4 goals to archive the goals with it. The number is how many goals the area holds, counting subgoals and completed goals, so it can be higher than the count on the area’s card.
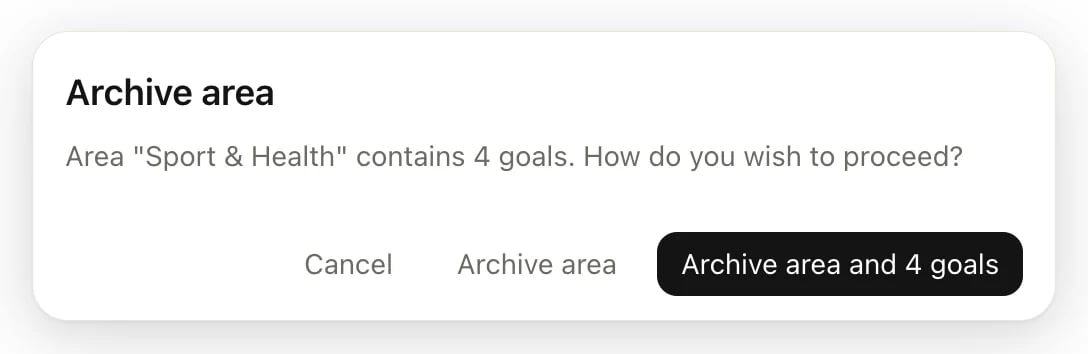
Archiving an area that has goals
Delete a life area
- Click ⋯ on the area and choose Delete.
- Confirm in the Delete life area window.
Limits
The Free plan includes 9 life areas, and the nine starting areas fill that allowance. Archived areas count too, so to make room for a new area on Free, delete one you don’t use. Pro has no limit. See Free, Pro and Lifetime.Related
Goals
Set outcomes inside an area and track progress.
How Heym works
When to use an area, a goal, a project or a habit.
Share with others
Invite someone into a life area.
Free, Pro and Lifetime
What each plan includes.